
Make a Wood Sign Without a CNC

At some point every woodworker is going to want to make a wooden sign, but think they cant because they don’t have a CNC. That’s silly. With a router, and a good bit you can free-hand a sign pretty easy.
I’ll be honest, the Shaper Origin Handheld CNC Router is on my short list of tools to buy. If you’ve ever seen one in action you know how cool of a tool it is. I got to play with one hands-on at the Festool Road-Show in 2019…me wants it.
But if I continue to be honest, with steady hands, a good router, and an assortment of jigs you can accomplish the exact same results with a $100 router.
For a hobbyist, making and selling custom-made wood signs can be great money maker. The space requirements are minimal and you can hit a price point that most people are willing to pay for gifts, etc.
Watch the Video
This is an old video (less than great quality). But the steps involved haven’t changed. I was using my first router, a Ryobi, that I think is only $60-ish. As you can see you don’t need a lot of fancy tools to get great results.
Here’s what you’ll need:
A router. Any router will work but I really like my Makita 18v compact router
60-Degree V-Groove Bit. This is your work horse bit for carving a sign free-hand with a router.
1/4 inch straight bit. For removing bulk materials and cleaning up.
This 70-piece router bit set has been great if you just want to buy all the bits you’ll ever need at once.
A Printer. I know, I know… It’s 2020 what do you even need a printer for? Well, printing out your design to carve, that’s why. This printer has served me really well for my business and is pretty affordable.
Spray Adhesive. To glue your pattern to your sign
Acrylic paint or spray paint. to paint your letters and pictures.
You’ll also need your other basic woodworking supples: Sandpaper, Finish, mounting hardware, etc.
The Steps to Carving a Sign Free-hand with a Router
Design your sign in Paint, Publisher, or one of the thousands of free programs available for such things.
Print it out. You may want to do what I did and print out your design bigger than an 8.5x11 piece of paper. That’s fine just search How to print an image on multiple pieces of paper to see the steps for that.
Glue it to your wood. This is what the spray adhesive is for. Use it sparingly so its easy to get off later
Lightly trace your outlines. Light passes that gradually get deeper are MUCH easier to control than big deep passes. Start about 1/8” away from your outlines then make a final clean up pass to get to the line. You’ll get a feel for this pretty quick.
Hog out the rest of your material. Once your out lines are done you can move pretty quick to clear the rest of the material.
Clean off the template and the glue. You did use the glue sparingly right? Alcohol, Acetone will both get the residue mostly off (use gloves) then you can sand everything smooth.
Paint your design, or don’t. You can paint your design like I did in the video, use craft paint, or leave it natural. That’s 100% up to you.
Yes, You can do this.
You’ll probably mess up your first sign. That’s ok, failure is part of learning, and you only really fail if you give up. Make a few practice signs for your mom first, she’s required to love it and put it on her fridge (its like a law or something).
This video was not my first wood sign, But the sign in the video is only my 3rd or 4th. I’m not a “pro” at this and it looked pretty darn good when it was finished.
So print something out, glue it to a piece of scrap wood and make a sign.

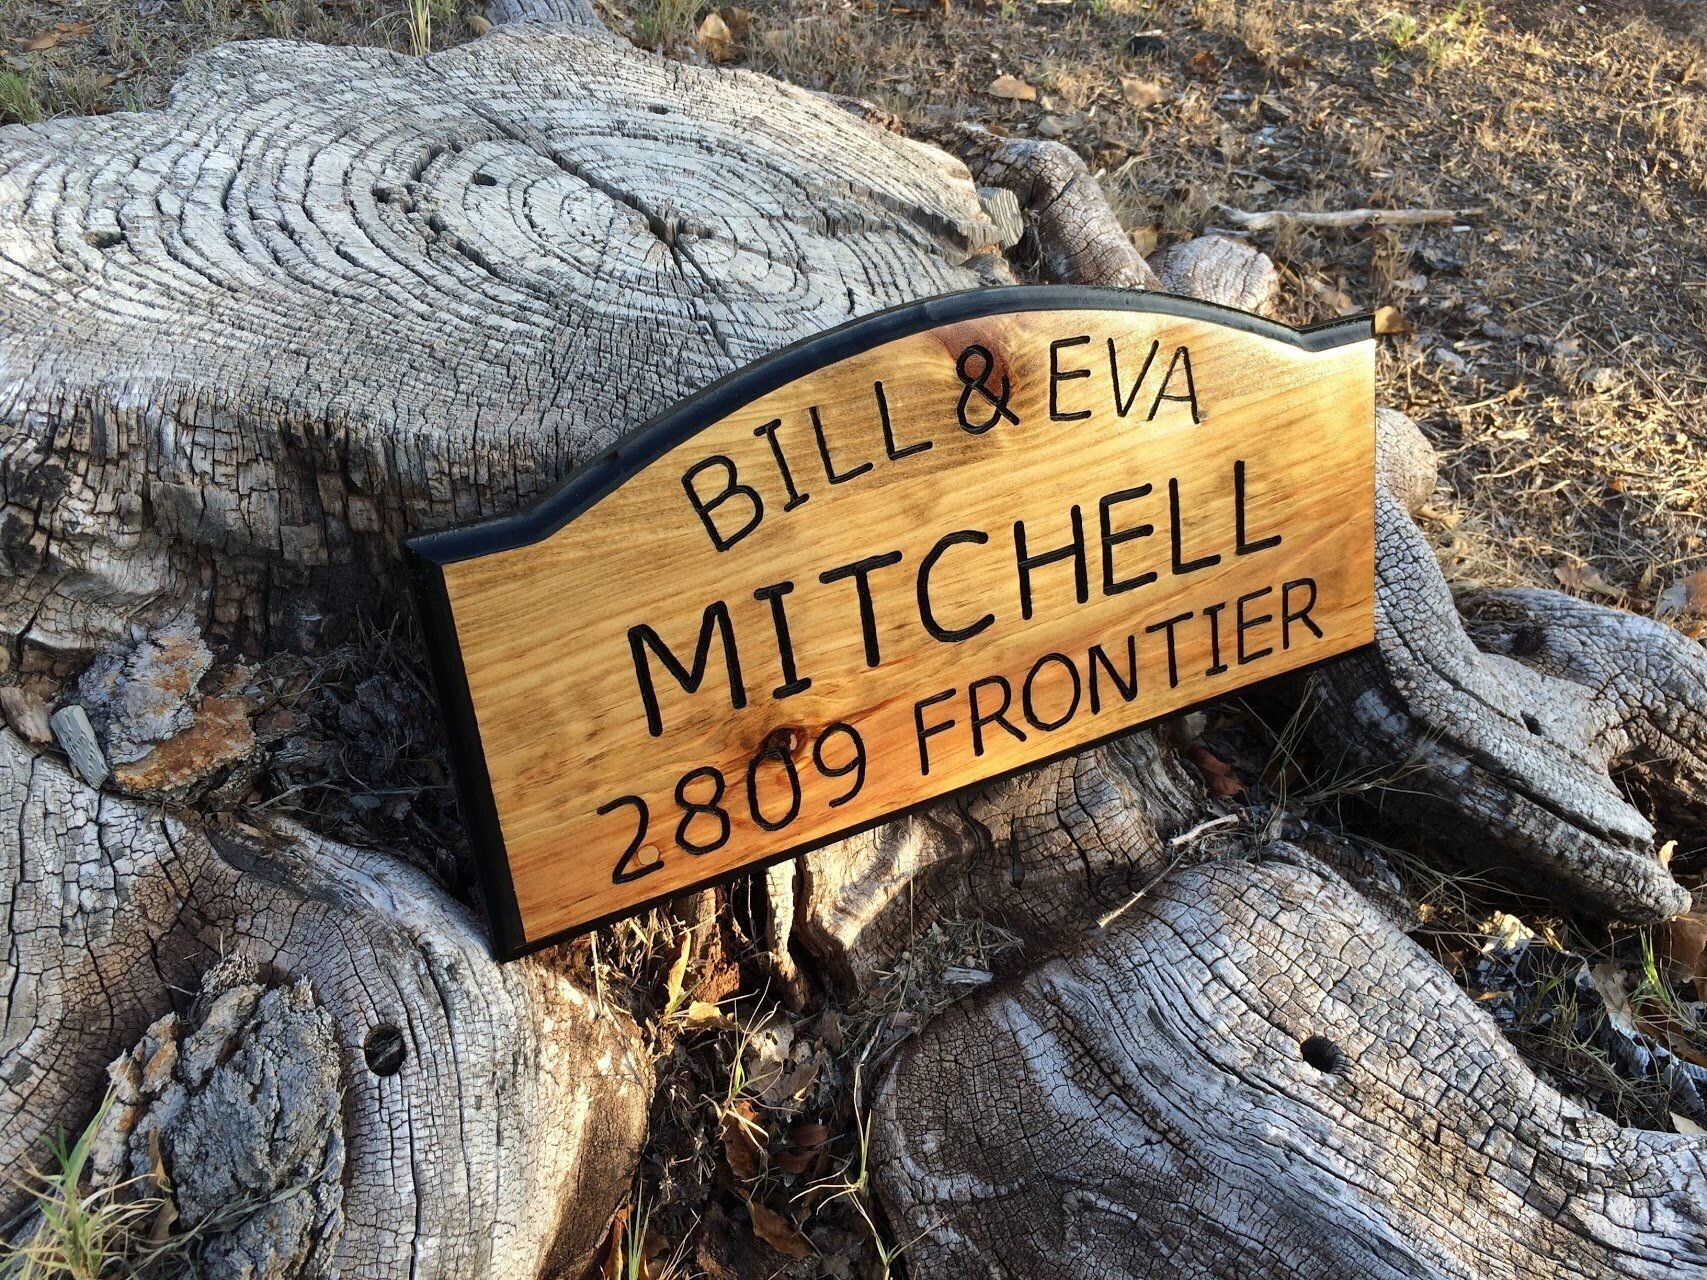
I think this was my first ever sign. Not bad. Go make something!